
The Art of Chicken Biryani: A Culinary Journey
Biryani. Just the word itself conjures images of fragrant, long-grained basmati rice, tender pieces of marinated chicken, and a symphony of spices that dance on the palate. It’s more than just a dish; it’s a celebration, a labor of love, and a true masterpiece of South Asian cuisine.
As someone who finds immense joy in the kitchen, I’ve always been fascinated by biryani. The sheer complexity, the layering of flavors, and the subtle art of “dum” cooking (slow cooking in a sealed pot) make it a culinary adventure. Today, I want to share my journey into creating a truly authentic and delicious chicken biryani, along with some tips and tricks I’ve picked up along the way.
Why Biryani?
Beyond its incredible taste, biryani holds a special place in my heart. It’s a dish that brings people together, whether for a festive occasion or a simple family meal. The aroma that fills the house as it cooks is enough to make anyone’s mouth water, and the first bite is pure bliss. It’s a dish that, once mastered, becomes a source of immense pride.
The Foundation: Quality Ingredients are Key
You can’t build a magnificent castle without a strong foundation, and the same goes for biryani. Using high-quality ingredients is paramount.
- Basmati Rice: This is non-negotiable. Don’t skimp here. Long-grained, aged basmati rice is essential for that distinct aroma and separate, fluffy grains. I always soak my rice for at least 30 minutes before cooking to ensure even cooking and length.
- Chicken: Opt for bone-in chicken pieces. The bones add so much flavor to the biryani. Thighs and drumsticks work wonderfully.
- Yogurt: Full-fat plain yogurt is key for marination, providing tenderness and a subtle tang.
- Spices: This is where the magic happens! A blend of whole spices (cinnamon sticks, cardamom pods, cloves, bay leaves, star anise) and ground spices (turmeric, red chili powder, coriander powder, garam masala) creates the signature biryani flavor. Fresh ginger-garlic paste is also crucial.
- Herbs: Fresh mint and cilantro are non-negotiable for that fresh, aromatic lift.
- Onions: Crispy fried onions (birista) are a must for both flavor and texture. This step takes patience but is incredibly rewarding.
- Saffron: A few strands soaked in warm milk add a beautiful color and an exquisite aroma.
The Process: A Dance of Layers and Flavors
Creating biryani is a multi-step process, but each step contributes to the final masterpiece.
1. Marinating the Chicken: The Flavor Infusion
This is where the chicken truly absorbs the spices. I typically marinate for at least 4 hours, or even better, overnight in the refrigerator.
- Combine chicken pieces with yogurt, ginger-garlic paste, red chili powder, turmeric, coriander powder, garam masala, salt, a squeeze of lemon juice, and a generous amount of chopped mint and cilantro. A little birista also goes in here.
2. Preparing the Birista: The Golden Touch
Thinly slice onions and fry them slowly until deep golden brown and crispy. This requires patience and a watchful eye to prevent burning. Drain them on paper towels.
3. Par-boiling the Rice: The Half-Cooked Secret
The rice is cooked only partially (around 70-80% done) before layering. This allows it to finish cooking with the chicken and absorb all the beautiful flavors during the dum process.
- Bring a large pot of water to a rolling boil. Add whole spices, salt, and a dash of oil. Add the soaked basmati rice and cook until it’s al dente – still firm but not raw. Drain immediately.
4. Layering (Dum): The Art of Assembly
This is the most exciting part! In a heavy-bottomed pot (preferably a Dutch oven or a traditional biryani pot), layer the ingredients:
- First, a layer of the marinated chicken.
- Next, a generous layer of the par-boiled rice.
- Sprinkle with fried onions, chopped mint, cilantro, a drizzle of ghee, and the saffron milk.
- Repeat the layers, ending with rice.
5. Dum Cooking: The Magic of Steam
Seal the pot tightly. You can use aluminum foil and then the lid, or a dough seal around the rim of the lid. This traps the steam, allowing the chicken to cook through, the rice to absorb all the aromatic juices, and the flavors to meld beautifully.
- Cook on high heat for a few minutes, then reduce to very low heat and cook for 25-30 minutes. Let it rest for 10-15 minutes after turning off the heat before opening.
The Grand Reveal and Serving
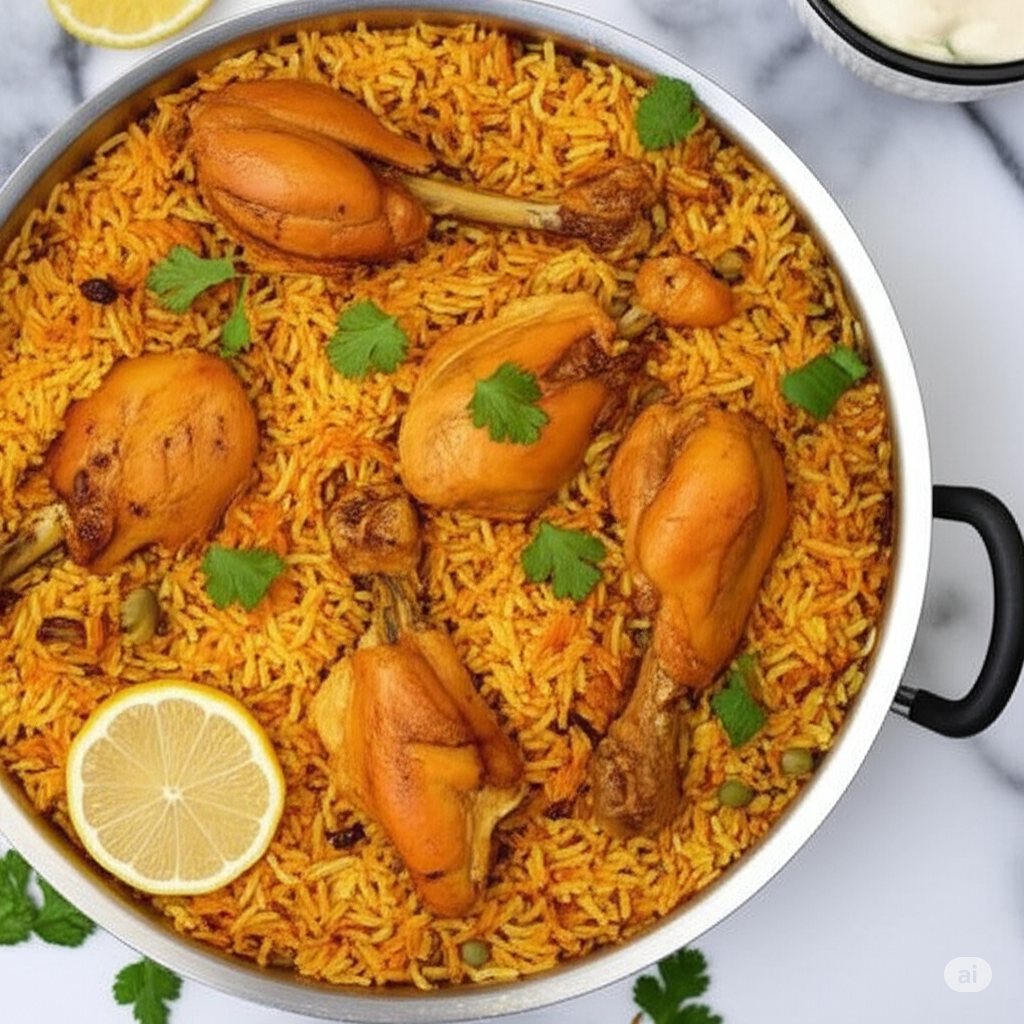
The moment you lift the lid is truly magical. A cloud of fragrant steam envelops you, revealing perfectly cooked, separate grains of rice and tender chicken. Gently fluff the biryani with a wide spoon, ensuring you get some of the chicken from the bottom.
Serve hot with a cooling raita (yogurt with cucumber and spices) and perhaps a simple salad.
My Biryani Takeaways
- Patience is a Virtue: Biryani isn’t a rushed dish. Enjoy the process.
- Don’t Be Afraid of Spices: Experiment with the quantities to suit your taste, but don’t shy away from them.
- The Dum is Crucial: A good seal and low, slow cooking are what make biryani truly special.
- Practice Makes Perfect: My first biryani wasn’t perfect, but each attempt has brought me closer to my ideal.
Creating chicken biryani is a rewarding culinary adventure. It’s a dish that teaches you about layering flavors, the importance of technique, and the joy of sharing good food. So, gather your ingredients, put on some good music, and embark on your own biryani journey. You won’t regret it!